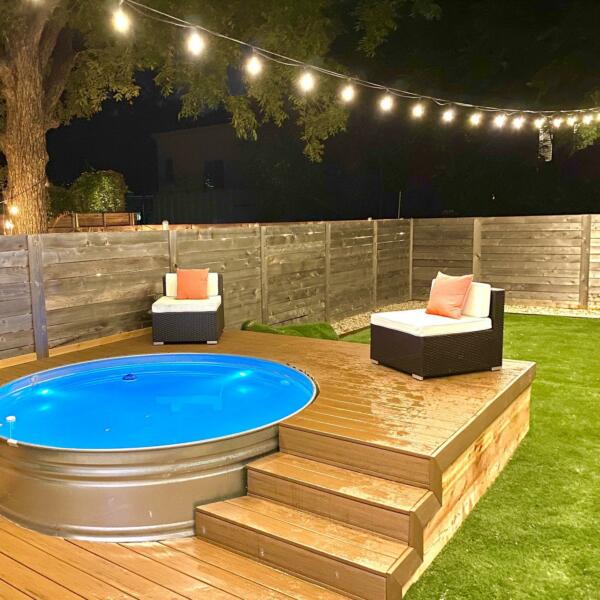
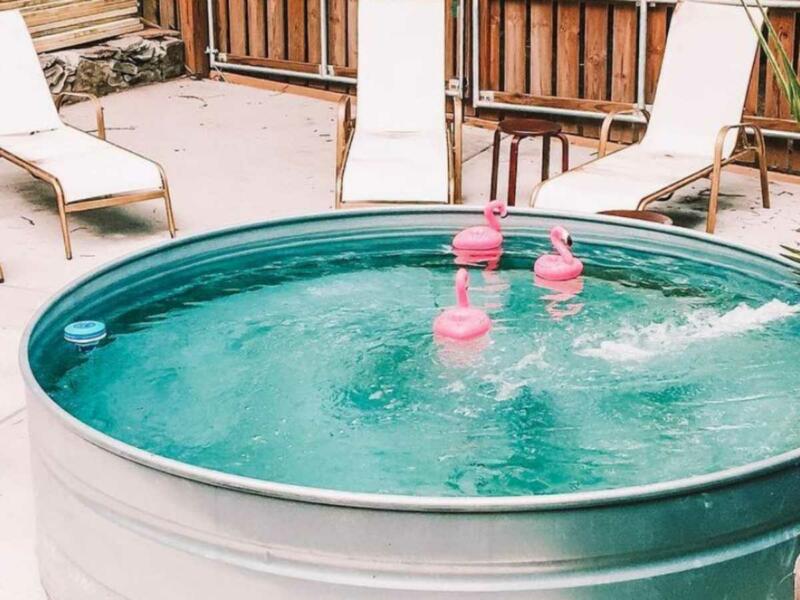
If you’re in the market, you’re undoubtedly curious about the wisdom of stock tank pools. Stock tank pools are still quite popular this year since they are more cost-effective than in-ground pools. It has a rustic aesthetic that you won’t get in a typical above-ground or kiddie pool. If you’ve recently installed one in your house, you might wonder how to maintain it, so it continues to function yearly.
These stock tank pool ideas are ideal if you’re looking for a cheap and enjoyable way to cool yourself on a hot day. The dogs and children may take a break in these little pools of water in the afternoon. At the same time, the grownups may relax in the evening with a refreshing drink and take in the beauty of the starry night sky.
What is a stock tank pool?

A stock tank is typically used as a livestock watering trough, although it has lately been popular to convert them into do-it-yourself swimming pools. You can convert these galvanised stock tanks into a swimming pool by installing a pump and filtration system. Chlorine tabs in a pool cleaning floater will help keep it clean.
This stylish and economical pool option has recently generated a lot of attention, and the designs that individuals have created are original. We looked online for the most innovative pool and deck designs before we made our stock tank pool.
How a stock tank pool is made?

Most of us seek methods to stay calm as the long, hot summer days approach. Stock tank pools are affordable and practical, providing you and your family with excellent and enjoyable summer activities.
Additionally, it will give your backyard a little bit of rural, rustic character. How to make stock tank pool on your own using the step-by-step instructions provided below.
1. Prepare the pool area
To avoid spending a lot of time removing leaves that have fallen into the pool. You can locate a flat area in your yard where you can set your stock tank far from any trees. Sand installation in the region where your pool will be located is another optional step.
It gives your pool a wonderful finishing touch and acts as a cushion to stop pebbles from scratching the bottom of the tank. Make sure there are power outlets around as well. Nothing is worse than setting up your pool only to discover that you are too distant from an outlet to plug in the pool filter.
2. Install a pool filter
Set it up according to the directions in your filter pump’s handbook. You have the choice of utilising a sand filter pump, which needs you to feed pool sand to the pump, or a cartridge filter pump. It requires you to replace the filter every few weeks. Sand pumps are more expensive than cartridge pumps up front, but since the sand only has to be replaced every few years, this filtration system is more affordable. However, you may choose the filtering method according to your preferences.
3. Make two slits in the stock tank
The two holes should be placed in the middle of the upper half of the tank walls, roughly 2-3 feet apart from one another. Before cutting, take care to measure the diameter of the valve attachments that will be inserted into the holes. If you cut the holes too tiny and have to expand them, or even more challenging, if you try to repair holes that you’ve missed too big, it might become a problem. Using a drill and a drill bit that is just a little bit bigger than the hole you need to cut, you can create the holes.
4. Secure Plunger valves attach and epoxy
The large, rounded end with the filter should go within the pool when you attach the plunger valves. We advise using both plumbers and waterproof epoxy to secure the valves on both threads of the valve attachment within the pool. Also, the valve attachment lines that go outside the pool liberally apply the plumber’s epoxy.
It’s crucial to avoid epoxying the hose attachments since you’ll need to be able to remove them to clean the pool. After securely connecting them, push them together and allow them to cure for 24 hours. If necessary, you can use a wrench to help you with this step.
5. Attach Filter hoses, then fill the pool
Attach the hoses to the filter and fill the pool with water once at least 24 hours. You have passed for the epoxy to set. Check the reservoir for leaks. If any leaks discover, you must empty the pool, allow it to dry, and then identify the source of the leak. You may now enjoy your new pool if there are no leaks.
How a stock tank pool is maintained?

Clean it often to prevent extra dirt and debris from the pool. Pool skimmers are effective in removing material from the water’s surface. Also, a pool vacuum head may be purchased to remove accumulated dirt on the bottom. Regular pool maintenance will help keep your filters clean and avoid clogs. Carefully adhere to the maintenance instructions in your filter’s handbook.
It will be challenging to maintain the remainder of the pool clean if the interior of the filter becomes filthy or populated with algae. You will have to do additional work as a result. To help keep your pool clean, use shock treatments and cleaning agents like bromine or chlorine pills.
You should clean and drain your pool every 6 to 8 weeks. Your collection will eventually become unclean even with appropriate maintenance and chemicals. Your pool will appear better if you give it a good clean every month.
Conclusion
We’re constantly searching for the most fantastic garden design ideas to make your outside area come to life. And installing a stock tank pool might be the finishing touch your outdoor space needs this summer. Since stock tank pools are designed to be used as animal water troughs, they are often made of galvanised metal. But they make for the ideal above-ground pools due to their robust and solid structure, built-in drain, and easy-to-customize features.
Also read: Plumbing DIYs That Could Save You Money


